As the temperatures rise, so does the importance of having a properly functioning air conditioner. However, encountering issues with your AC unit can be frustrating, especially during the scorching heat of summer. While professional help is always an option, many common air conditioner problems can often be resolved with some DIY know-how تعمیر کولر اسپیلت. In this blog, we’ll explore some simple yet effective DIY air conditioner repairs to help you keep your cool without breaking the bank.
- Clean or Replace Air Filters: One of the most common reasons for reduced cooling efficiency in air conditioners is dirty or clogged air filters. Over time, these filters accumulate dust, dirt, and debris, obstructing airflow and making your AC work harder than necessary. Thankfully, cleaning or replacing air filters is a simple and inexpensive fix that can significantly improve your AC’s performance and energy efficiency. Make it a habit to check and clean or replace your air filters regularly, ideally every one to three months, depending on usage and environmental factors.
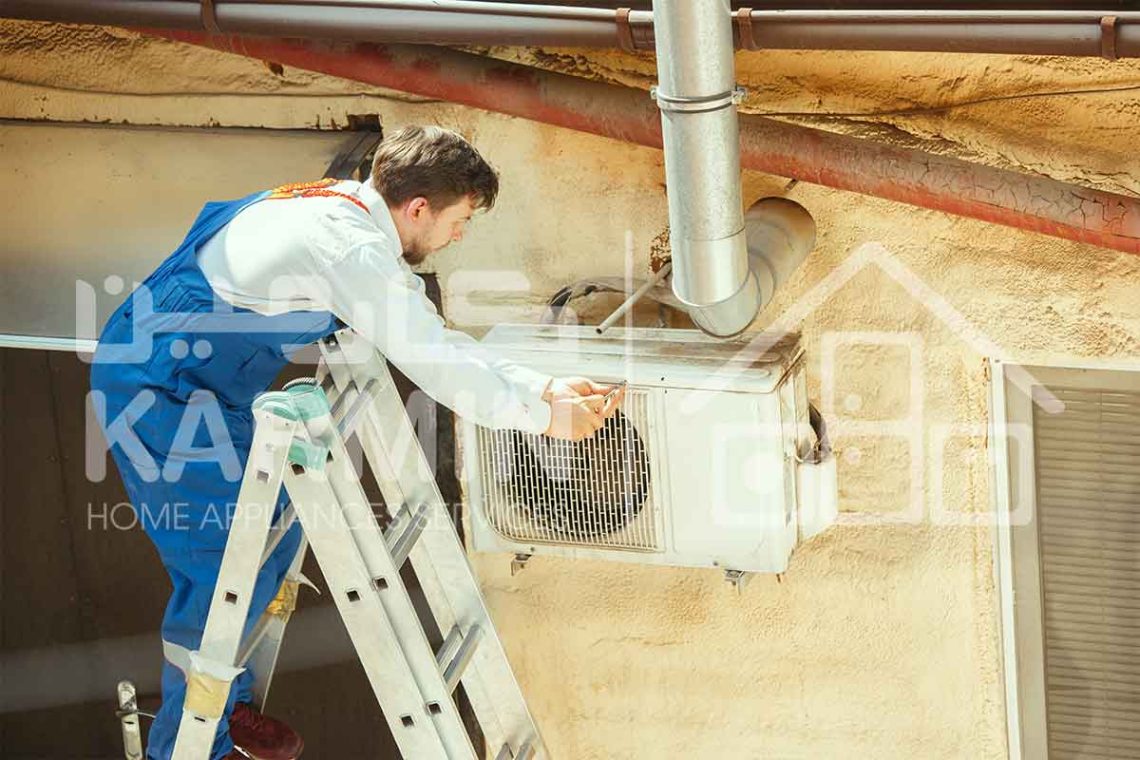
- Check and Clean Condenser Coils: The condenser coils of your air conditioner are responsible for releasing heat outside your home. Over time, these coils can become dirty or covered with debris, hindering the heat transfer process and causing your AC to work harder. To keep your condenser coils in optimal condition, it’s essential to inspect them regularly and remove any dirt, leaves, or other debris that may have accumulated. Using a soft brush and gentle water pressure, carefully clean the coils to ensure efficient heat dissipation and optimal cooling performance.
- Clear Condensate Drain Line: The condensate drain line is responsible for removing excess moisture from your air conditioner. However, this drain line can become clogged with algae, mold, or debris over time, causing water to back up and potentially damage your AC unit or surrounding areas. To prevent clogs and ensure proper drainage, periodically flush the condensate drain line with a mixture of water and vinegar or bleach. Additionally, consider installing a condensate drain pan overflow switch to detect and alert you to any drainage issues before they cause damage.
- Inspect and Replace Capacitors: Capacitors are essential components of your air conditioner’s electrical system, helping to start the compressor and fan motors. Over time, capacitors can degrade or fail, resulting in issues such as difficulty starting the unit or weak airflow. If you notice any signs of capacitor failure, such as humming noises or frequent cycling on and off, it may be time to inspect and replace them. Capacitors are relatively inexpensive and easy to replace with the proper tools and precautions, helping restore your AC’s functionality without the need for professional assistance.
- Check Refrigerant Levels: Refrigerant is the lifeblood of your air conditioner, responsible for absorbing heat from indoor air and cooling your home. Low refrigerant levels can indicate a leak in your AC system, resulting in reduced cooling performance and increased energy consumption. While checking and replenishing refrigerant levels is best left to trained professionals, you can still monitor your AC for signs of refrigerant leaks, such as ice buildup on the evaporator coil or hissing sounds near the refrigerant lines. If you suspect a refrigerant leak, contact a qualified HVAC technician to diagnose and repair the issue promptly.
Conclusion: While some air conditioner problems may require professional attention, many common issues can be resolved with a little DIY effort and know-how. By regularly inspecting and maintaining your AC unit, you can prevent costly repairs and ensure optimal performance throughout the hot summer months.