Embarking on the journey of hair removal at home can be a daunting task, but with the right tools and techniques, you can achieve salon-worthy results in the comfort of your own space. One of the most effective and popular methods is DIY waxing, and in this blog post, we’ll explore the wonders of bulk hard wax and wax beans for a blissful hair removal experience.
The Basics of DIY Waxing:
Waxing at home has become increasingly popular due to its affordability, convenience, and long-lasting results. Unlike shaving, which only removes hair at the surface, waxing pulls hair from the root, providing smoother and longer-lasting results.
Choosing the Right Wax:
When it comes to DIY waxing, the choice of wax is crucial. Hard wax and wax beans are two popular options that have gained widespread acclaim for their ease of use and effectiveness.
- Hard Wax: Hard wax is a stripless waxing option that is gentle on the skin and effective at removing coarse and fine hairs. Unlike soft wax, hard wax adheres only to the hair, not the skin, making it suitable for sensitive areas. It’s a game-changer for those who find traditional waxing painful, as it minimizes discomfort and reduces the likelihood of irritation.
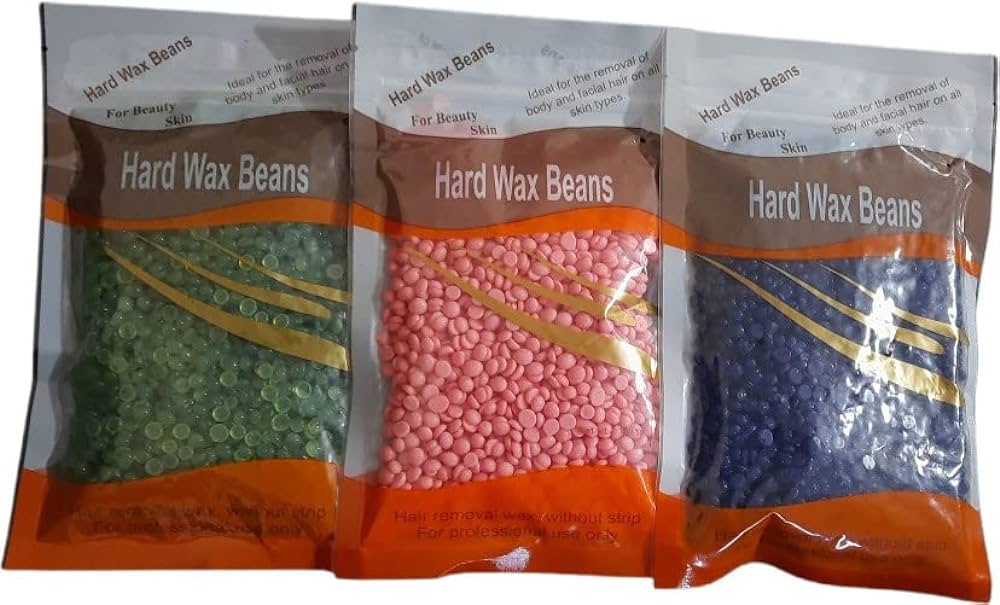
- Wax Beans: Wax beans, also known as hard wax beads, are a convenient and mess-free alternative to traditional waxing methods. These small, bead-like pellets are easy to measure and melt, offering a hassle-free application process. Wax beans are available in various formulations, including natural ingredients like beeswax and chamomile, catering to different skin types.
The DIY Waxing Process:
Now that you’ve chosen your preferred wax, let’s dive into the step-by-step process of achieving waxing bliss at home.
- Prepare Your Skin: Start by cleansing the area you plan to wax to remove any oils, lotions, or debris. Ensure the skin is completely dry before proceeding.
- Heat the Wax: If you’re using hard wax, follow the instructions to heat it to the optimal temperature. For wax beans, use a wax warmer or microwave to melt the beads into a smooth, liquid consistency.
- Test the Temperature: Before applying the wax to a larger area, test a small amount on your wrist to ensure it’s at a comfortable temperature. The wax should be warm, not hot, to avoid burns.
- Apply the Wax: Using a spatula, apply the wax in the direction of hair growth, creating a thick and even layer. Leave a small edge for easy removal.
- Wait for the Wax to Set: Allow the wax to cool and harden. The wax will grip the hairs as it sets, making it easier to pull off.
- Remove the Wax: Hold the skin taut and pull the wax off in the opposite direction of hair growth, keeping the motion quick and close to the skin for optimal results.
- Soothe and Moisturize: After waxing, soothe the skin with a post-waxing oil or lotion to reduce redness and irritation. Avoid hot showers and sun exposure for at least 24 hours.
Benefits of DIY Waxing with Hard Wax and Wax Beans:
- Precision and Control: Hard wax and wax beans allow for precise application, making it easy to target specific areas and shape eyebrows or remove unwanted facial hair.
- Less Mess: Unlike traditional soft wax, which requires strips for removal, hard wax and wax beans can be applied directly to the skin, minimizing mess and cleanup.
- Cost-Effective: DIY waxing is a cost-effective alternative to salon treatments, saving you money in the long run while still achieving professional-quality results.
Conclusion:
With the right tools and techniques, DIY waxing with hard wax and wax beans can transform hair removal into a blissful and effective experience. Say goodbye to frequent shaving and expensive salon visits – embrace the convenience and affordability of at-home waxing for smooth, radiant skin all year round.